
Webhooks are an experimental feature that's not enabled by default, please ask support to enable it for you if you don't see it in your Dashboard
To start receiving events through webooks, you first have to define a webhook endpoint in your dashboard.
Adding new webhook through dashboard
-
Go to Webhooks Configuration in your Dashboard: https://momence.com/dashboard/profile?host-redirect=public-api-outgoing-webhooks
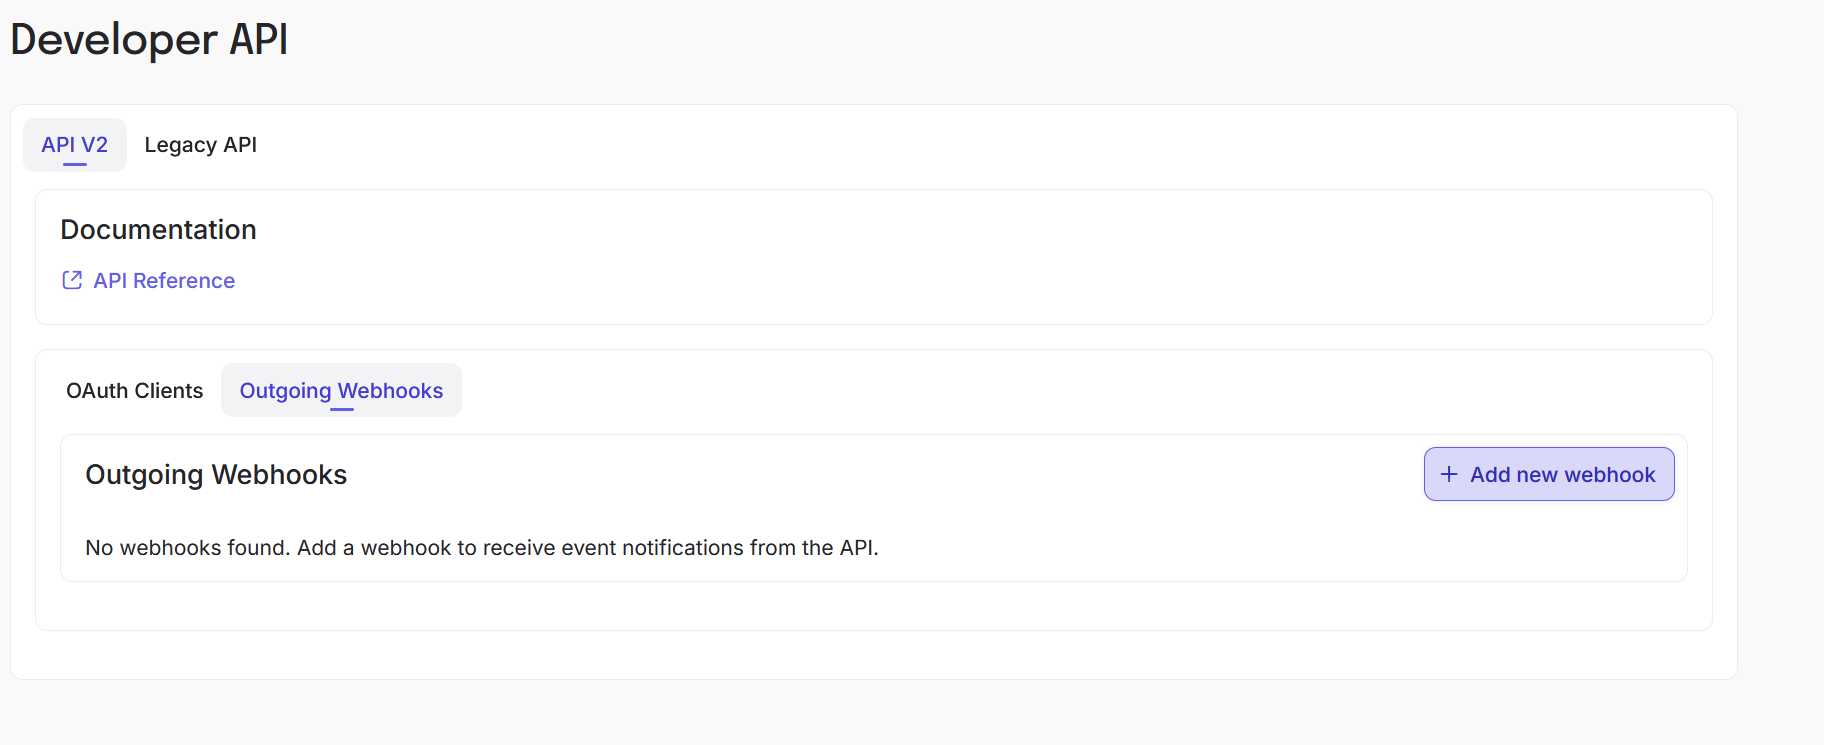
-
Click on Add new Webhook button and fill out your webhook processing URL
-
Make sure to save the secret values somewhere since you won't be able to access them again
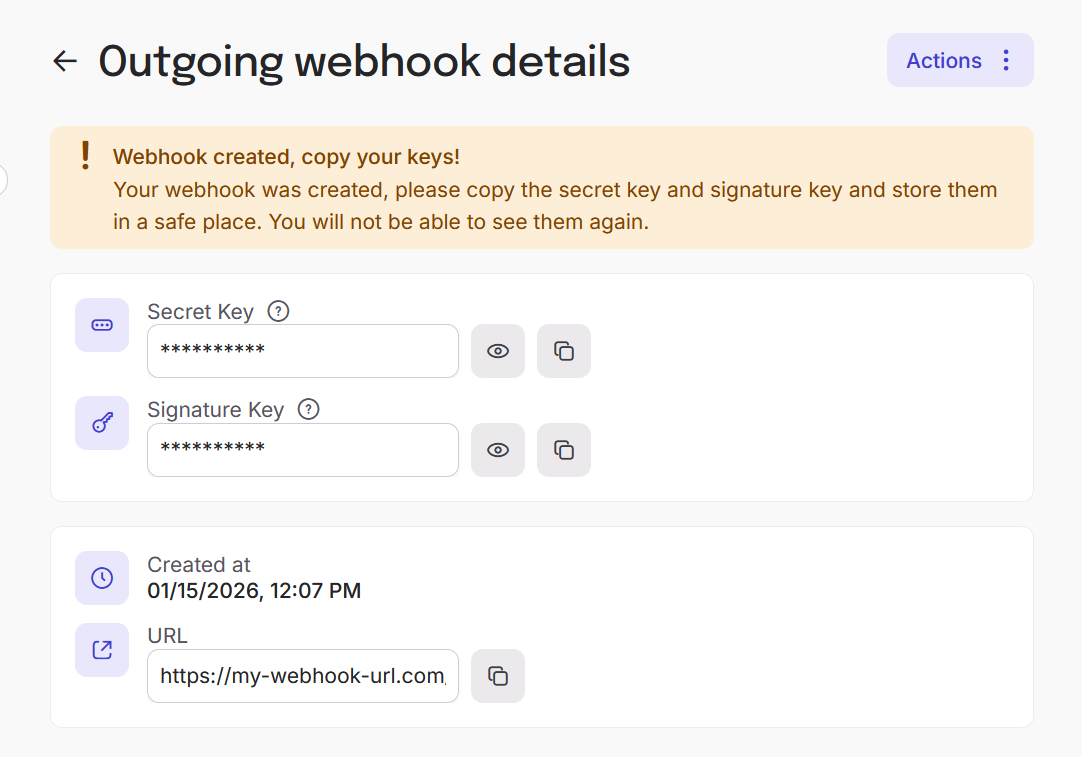
Webhook request format
Webhook will be called with POST request with JSON body for every event.
Body will be a JSON with single payload property which is just a JSON string. It's delivered in this format to make signature validation easier.
{
  "payload": "{\"event\": \"session.booked\"..."
}
The JSON inside payload has following format:
{
  "timestamp": "2025-10-03T10:11:00.462Z",
  "event": "session.booked",
  "payload": {
    "sessionId": 1,
    "sessionBookingId": 1
  }
}timestampis a date when the event occurred in ISO 8601 format.eventis event type identifierpayloadis the event contents, the exact shape depends on the event type
The webhook will include following headers:
x-webhook-secret- secret visible in your dashboard, you should use verify that it matches your value when receiving the datax-webhook-signature- HMAC-SHA256 checksum of thepayloadstring, you should validate that it matches the datax-webhook-reqeuest-id- ID unique to every event, will be the same when retrying the request, you can use it to detect duplicate requests